Pikachu Costume!

Pikachu Costume {chirpy threads}
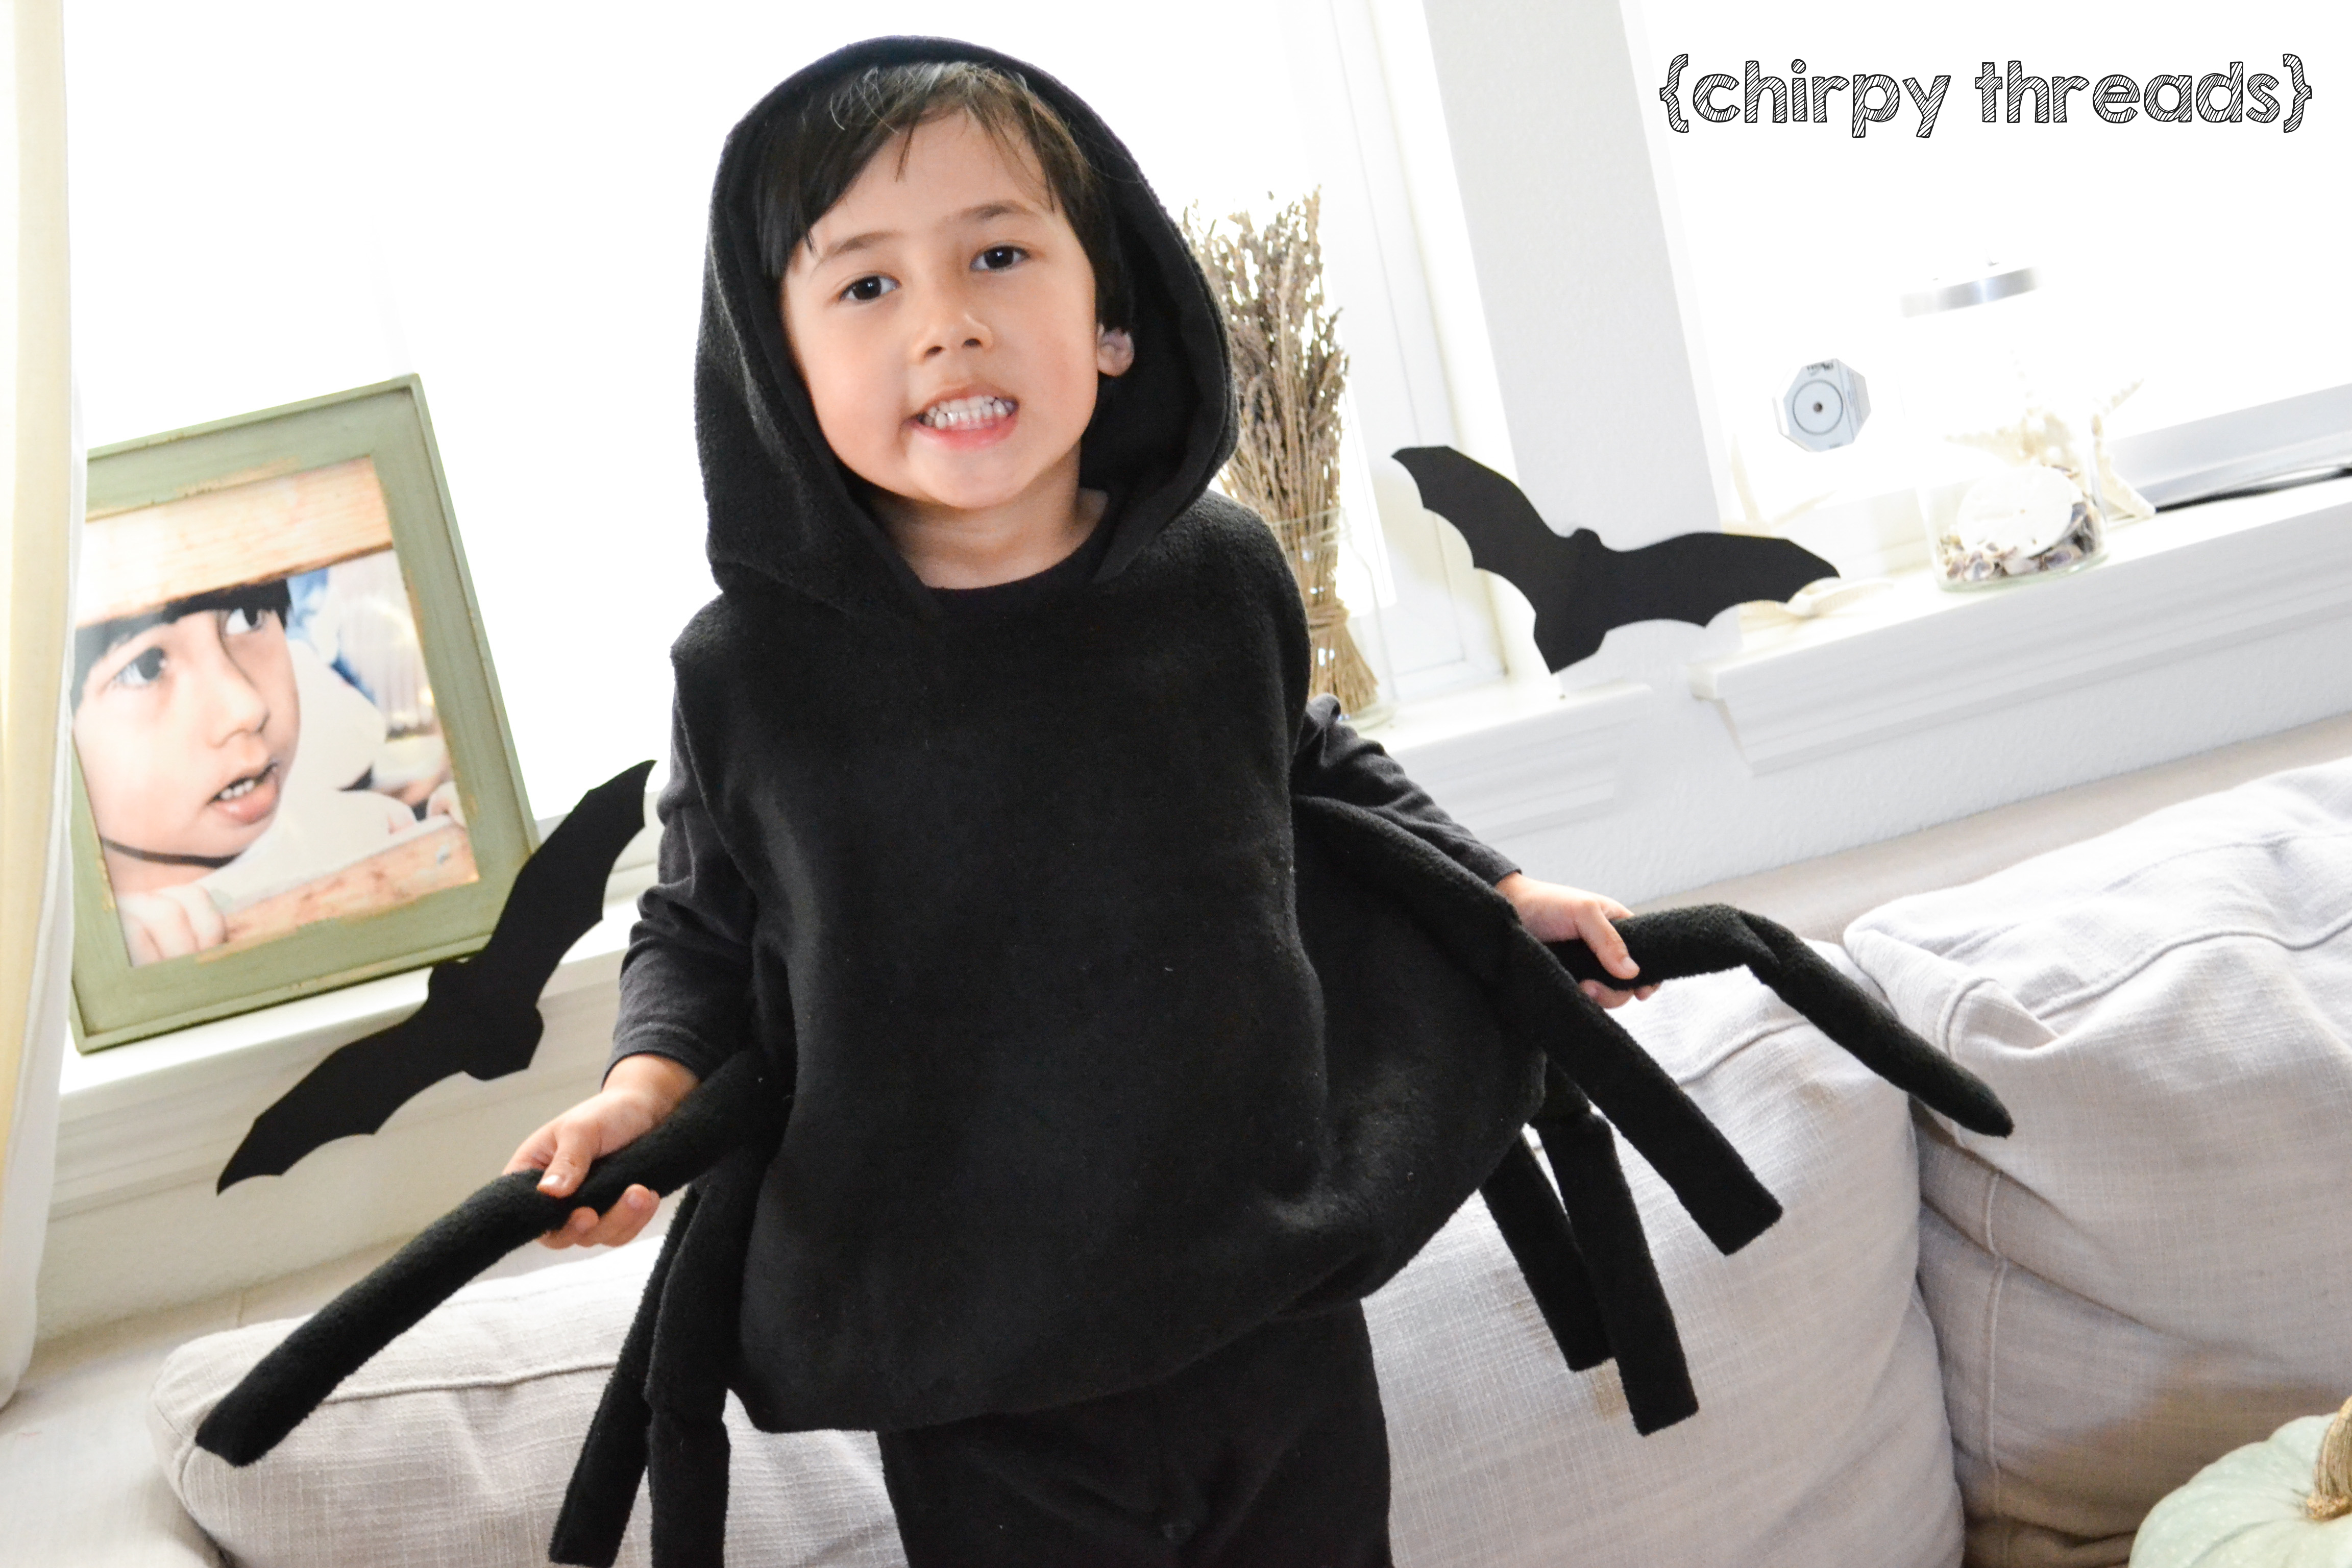
Hey there! This year, Ethan wanted to be Pikachu for Halloween! Although he is only four, and doesn’t know too much about Pokemon, he loves this cute little yellow character. It was between a moth and Pikachu, so I’m happy with his decision! This will be my second Halloween sewing him a costume. Last year, he was a spider – which was also really fun to make.

Pikachu Costume {chirpy threads}

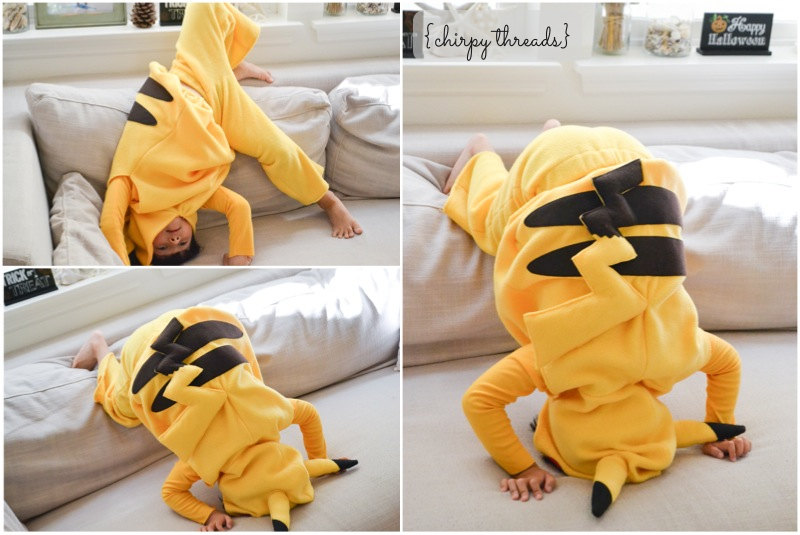
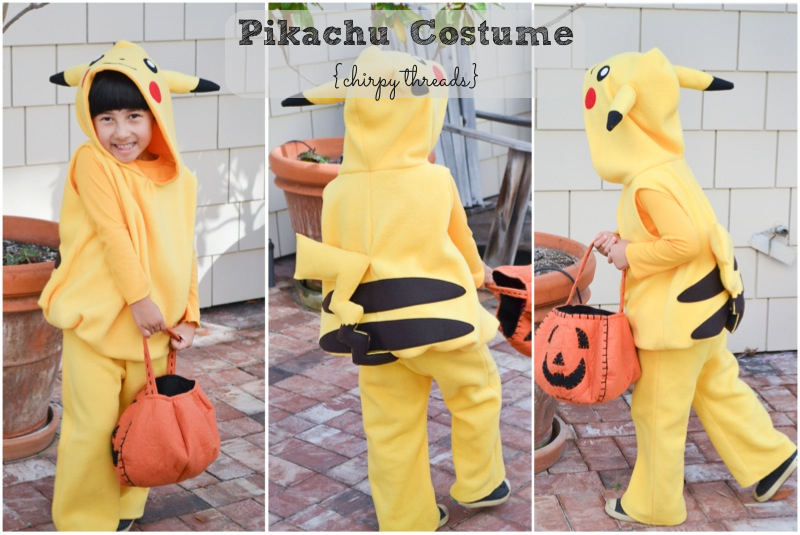
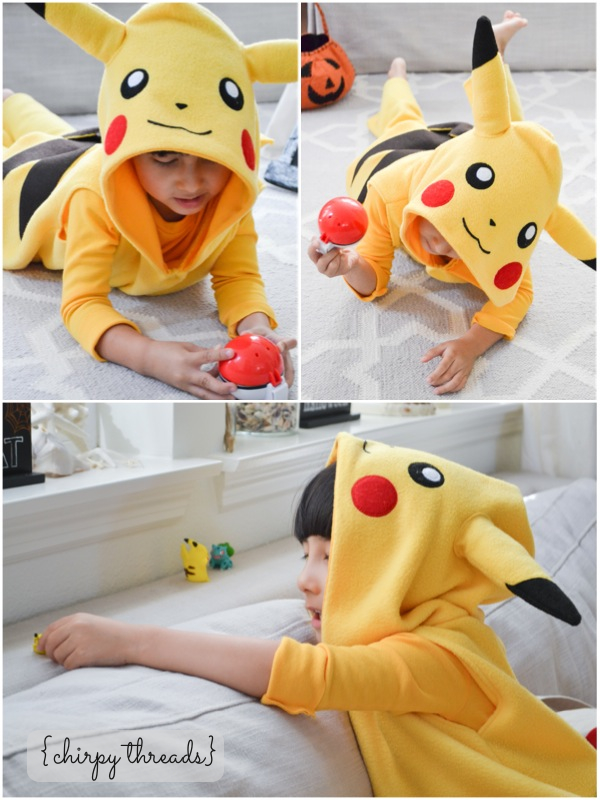
I made this Pikachu costume virtually the same way as the spider costume. It is a pullover hooded vest that is cinched on the bottom with elastic. The pullover from last year was self-drafted and I basically just used that as a guide and made it a little wider and longer for this year. All of the yellow fabric is anti-pill fleece (from Joann) and the brown and black details are felt material. The top of the lightning bolt tail, which is stuffed with poly-fil, is sewn into the back to keep it from flopping down. It still flops, but from side to side. The ears are also filled with poly-fil. There he is in the above photos, being silly and trying to do a handstand!

Pikachu Costume {chirpy threads}

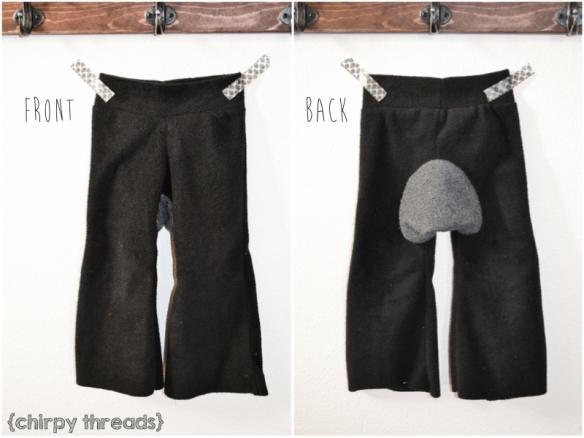
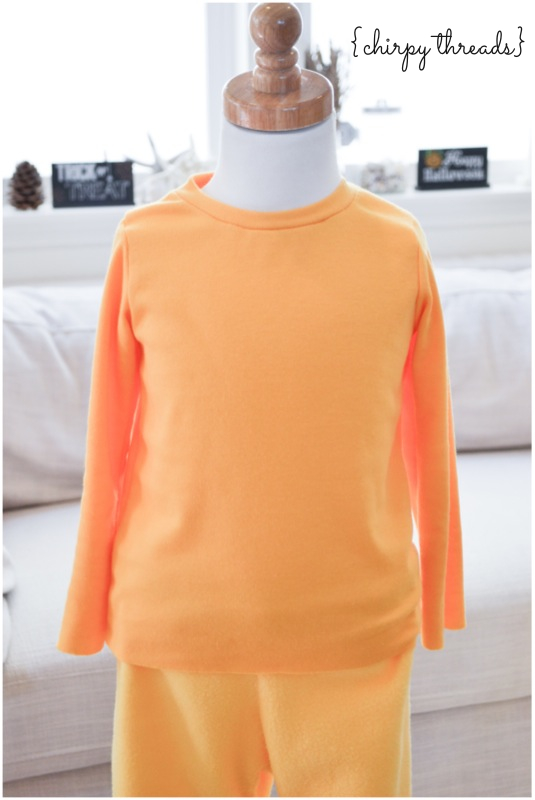
The hood is lined with a yellow cotton interlock that I also found at Joann. For the pants, I used Dana’s basic pant pattern and just made it a tad bit wider and longer. Super easy sew. The shirt, which is also made from the yellow cotton interlock, was made using Rae’s flashback skinny tee pattern. This was my first time sewing a shirt – and although there is a lot I need to improve on, it turned out not as bad as I thought it would! I used a regular sewing machine and I didn’t even need to change my needle! Crazy, huh. I think it was because cotton interlock is a thicker type of knit. Anyway, it was a breeze to sew! I also didn’t hem the sleeves as it turned out to be the perfect arm length for Ethan. I guess I could have added cuffs but I was too excited that his costume was finally completed and actually wearable!

Pikachu Costume {chirpy threads}

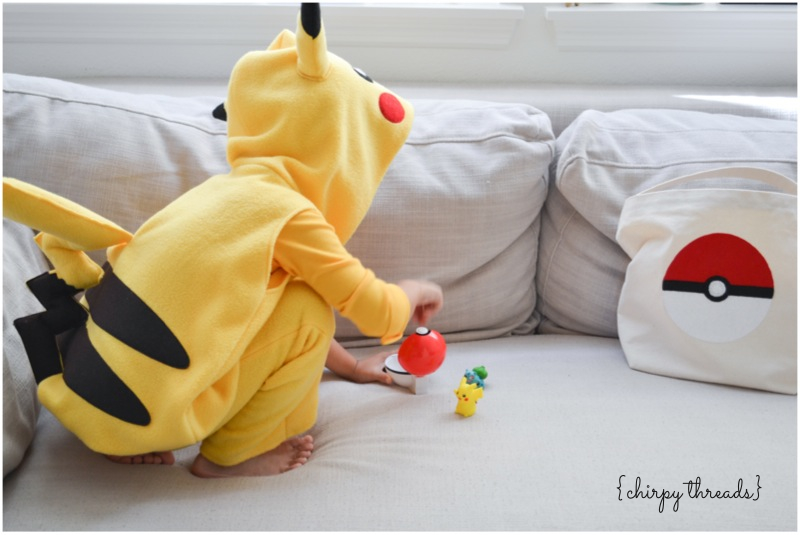
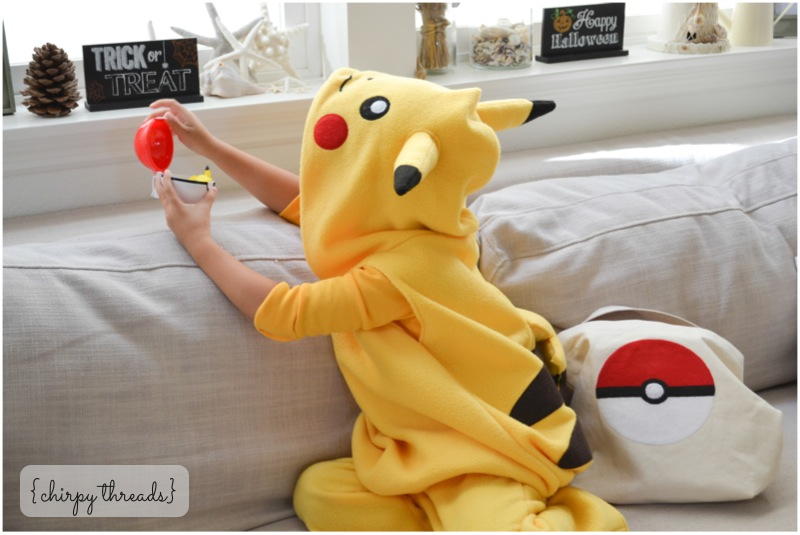
I also made a Pokeball trick-or-treat bag to go with the costume. Pretty basic stuff – just a huge 14×32 rectangle folded in half and sewn along the edges with the corners boxed. I used duck cloth for this so it is very sturdy and holds well. The pokeball is appliquéd on in pieces of red, white, and black felt.

Pikachu Costume / Pokeball Bag {chirpy threads}

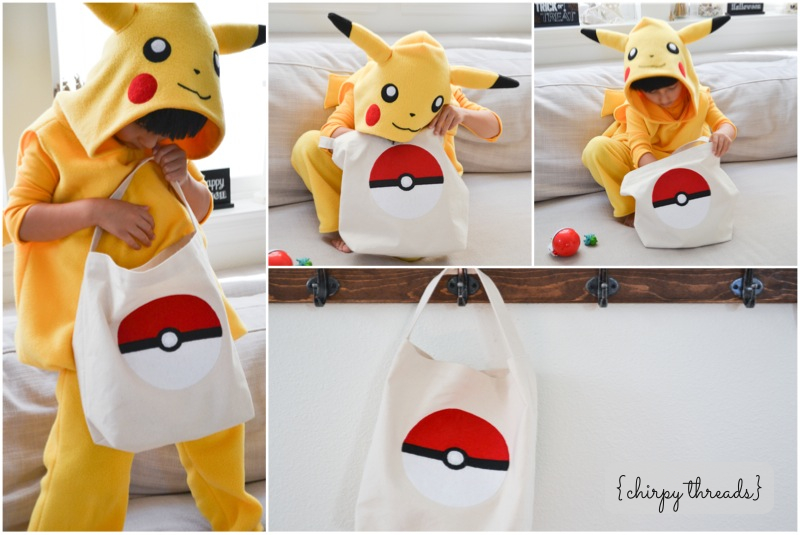
And now, I have a cute little boy running around the house shouting “pika, pika” all day! He sure loves getting into character!

Pikachu Costume {chirpy threads}

Pikachu Costume {chirpy threads}

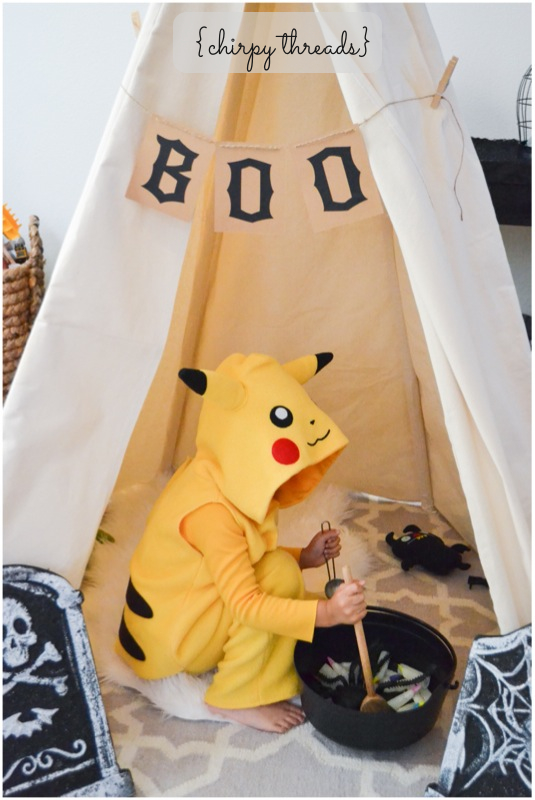
And I leave you with this last photo of Ethan cooking up some tasty spider, cockroach, and glow-in-the-dark fingers stew! Delicious!

Pikachu Costume {chirpy threads}

Happy Halloween, guys! Be safe out there!

xoxo, Jen

It’s a Spider!

Hello, there!  It’s been a while since I last posted, but I won’t go into detail as to why… Life pretty much just got in the way, and I was taken away from blogland.  Boo!  I know.  But Halloween is this week and I couldn’t go without sharing my first costume I made for Ethan!

He chose to be a spooky black spider and it sounded easy enough to sew up.  I was inspired by the one over at Pottery Barn Kids and wanted to make one similar.  This was a series of firsts for me… and it was an awesome experience!  I drafted the pattern on my own, made a muslin pattern, lined the costume, and sewed a hood!  Pretty cool, huh?  And, it turned out decent!

The legs didn’t turn out the way it’s supposed to but that’s ok.  I had wanted the legs to stick out and bend down, but I couldn’t figure out an easy and safe way to do it.  I tried floral wire but it was too sharp for a kid’s costume.  So I ended up just stuffing it with poly-fil and left it at that.  Aren’t I so original? This spider will just have skinny, floppy legs.  Super spoooooky!

It's a Spider! {chirpy threads}

The outer fabric is fleece (which I love sewing with because it’s so easy) and the lining is a knit jersey.  I lined the entire piece with knit and I loved how it felt inside!  Yup, and I used a plain old regular needle for this.  I had intended to buy a ball point needle after reading about sewing with knits but I completely forgot about it while at the fabric store.  But it turned out fine – no broken needles – yay!

It's a Spider! {chirpy threads}

I made fleece pants to go with the costume.  I used the Playground Longies pattern by Apple Dumpling Gear.  I’ve sewn this pattern up so many times.  It’s a super easy one.  And I just love the contrasting booty part – diaper or no diaper, it’s so comfy as play pants for little ones.  I left the bottom unhemmed because I didn’t realize how tall my munchkin was and made them a tad short.  Oh well, just glad that fleece doesn’t fray!

It's a Spider! {chirpy threads}

Ethan wanted green eyes – so he got them!  Actually, he wanted eight green eyes, which made total sense, but I didn’t feel like sewing eight eyes.  He settled.  Ah, it’s great to make things for him while he’s still so young.  He accepts my opinions… with a little bribe (or two).  Ha!

It's a Spider! {chirpy threads}

Happy Halloween, guys!  It feels so great to be back on here!

xoxo, Jen

DIY Felt Bunny Ears

DIY Felt Bunny Ears {chirpy threads}

There are so many cute DIY bunny ears out there, like this one (Kate’s Creative Space) and this one (Finley & Oliver) – two of my favorite blogs!  But, of course, I needed to make things more complicated for myself because I just love the extra work!  Ha, so kidding.  I had a vision in my mind and needed to see it through!  So, in case you’re interested in how I put mine together, here it is!

Materials:

  • headband that will fit your child
  • bunny ears template
  • cream colored felt for outer part of ear (or any color of choice)
  • gray colored felt for inner part of ear (or any color of choice)
  • two pipe-cleaners
  • heat n’ bond lite
  • fusible interfacing
  • essentials: sewing machine, thread, needle, scissors

Ok, let’s get started!

1.  Print out the bunny ears template on card stock.  I got the template from Martha Stewart.  Her version is super cute and EASY too.  I enlarged my ears a tad bit because I was making it for an almost-three-year-old.  The outer ear part was about 7″ long and 2.5″ wide; the inner ear part was about 5.5″ long and 2″ wide.

2.  Cut your cream felt into four strips of about 8″ x”4″ and iron strips of interfacing onto it.  Cut the gray felt into two strips that are slightly smaller and iron the heat n’ bond adhesive onto it.

DIY bunny ears {chirpy threads}

3.  Grab your templates and trace the outer ear onto the cream pieces and the inner ear onto the gray ones.

4.  Cut your ears out.  You should have four cream pieces and two gray ones.

DIY bunny ears {chirpy threads}

5.  Iron on the gray inner ear pieces onto the cream ones.  The remaining two cream pieces will be the back of the ear.

6.  This part is optional.  Sew along the edge of the gray ear to secure onto the cream felt.  The adhesive should hold the piece in place just fine without any sewing, but I wanted it to be extra secure in case it gets tossed around by my destructive little boy.

DIY felt bunny ears {chirpy threads}

7.  Next, sew the back piece of the ear to the front along the sides only and leaving the bottom open.  Take two pipe cleaners and twist the ends to join them to make one long one.  Bend at the middle to form a pointy top and insert into the ear via the bottom opening.  Now you can sew the bottom closed.

DIY bunny ears {chirpy threads}

8.  Grab your headband.  I got mine at the dollar store.  If it has any embellishments on it like mine did, make sure you cut or pull them off so that you have a clean headband to work with.  Wrap the pipe cleaners around the top of the headband to secure the ears.

9.  Cut 1 inch wide strips of felt long enough to cover the length of your headband.  You should have two pieces to sandwich your headband in the middle.  Now cut two slits on the top of one of your strips.  Make the slits wide enough (but not too wide) to slip the ears through.  Slip the ears through.

10.  Hand stitch the strips together with the headband sandwiched in the middle.  And you’re done!

DIY bunny ears {chirpy threads}

I’ve now succeeded in making the world’s most complicated felt bunny ears!  I’m certain there is a much easier way… and I’ll probably figure it out a couple years later!

DIY felt bunny ears {chirpy threads

DIY felt bunny ears {chirpy threads

Happy spring and have a great Easter weekend!

xoxo, Jen

Lucky Shamrock Burlap Banner

DIY lucky shamrock banner {chirpy threads}I’m sure I’ve mentioned a few times how much I love burlap!  I still do.  I love using it as part of my home decor.  I also love banners!  So for St. Patrick’s Day, I decided to make a banner with the word “LUCKY” spelled out and a couple of shamrocks.  Super easy.

Do you love it as much as I do?  Want to know how I made it?  Here it is!

* A little update:  When I originally made the banner, I had every intention of stringing twine though the casing to hang it, so my instructions below will reflect this.  It was only until later, after toying with the display over and over and over, that I realized I liked it hanging with clothespins.  Yeah, I’m indecisive, but I always decide in the end!

Materials:

  • Burlap (probably a half yard will do)
  • Lightweight fabric of choice (for letters and shamrocks)
  • Heat n’ Bond Lite
  • Twine (or any string or ribbon for hanging)
  • Safety pin
  • Your basic sewing necessities: machine, thread, scissors, iron

DIY lucky shamrock banner {chirpy threads}

1. You’re going to need 7 squares.  Cut them at 6″ x 7″.  They will end up being 6″ x 6″ squares when finished.

2.  Fold each piece down an inch on the 7″ side and iron to hold it in place.  This will make your casing to slip the twine through.

3.  Sew down the casing with about a quarter seam allowance.  You don’t want to sew too close to the edge in case the burlap frays.  Now put aside your burlap squares.

4. Iron on the heat n’ bond to the wrong side of your fabric.  Cut out the word “lucky” and two shamrocks.  You can use microsoft word to create stencils and do a quick image search to find shamrocks online.  Or, if you have a Silhouette Cameo, you can cut them out that way like I did.

5. Peel backing off of your letters and shamrocks, and iron them onto the burlap squares using a low temperature, no steam setting (or, according to packaging instructions).  Now admire how lovely they look adhered to the burlap!  The packaging recommends sewing your appliqué onto the fabric after ironing, but I don’t find it necessary with this project.  The letters stay on just fine.  I made happy birthday and heart banners in a similar fashion a year ago and it’s still holding up just great!

6. Attach the end piece of your twine to a safety pin and slowly feed it into the casing you made.

And that’s it!  Now you can hang your banner up and stare at it endlessly like me!

DIY lucky shamrock banner {chirpy threads}

Keep in mind that this material sheds… big time!  I can’t recall the number of times I sneezed while assembling the banner.  Luckily, it’s easy to clean up.  Also, the edges will fray.  You can probably spray some fray check on it but I personally like the not-so-perfect look so I kept it the way it is.

Oh, see that cute subway art up there?  Got it from here.  It’s awesome and free – so go print one out and frame it!  The flowers?  Those are Bells of Ireland!  Aren’t they pretty?  They made me smile when I saw them, so I picked up a bunch at my local Trader Joe’s and stuck them in some empty jars I had that were waiting to be used!

Thanks for stopping by and looking at my pretty green display!

xoxo, Jen

Easter Basket

Ethan already has several Easter baskets given to him by friends, but I couldn’t resist making him another one after seeing all the cute handmade ones out there on the web!  And so I whipped one up last minute.  This basket is very similar to the bucket for toy cars I made.  I made this one a little bigger and attached one strap to both sides as a single handle so it would look more like a basket.  To make the basket sturdier, I fused decor bond interfacing to the lining.  I definitely took a risk with that — I would normally add interfacing to the main outside fabric, but it turned out not so bad.  I really wanted the basket to look soft.  I appliqued a little felt bunny to the front for a little subtle but festive flair.  And of course I had to stamp Ethan’s name inside the basket again for a personal touch!  I got my inspiration here.  I just loved the look of the cotton batting as the main fabric.  So simple and clean, yet so soft and cozy!

Hope you all have a great Easter!

xoxo, Jen