Birthday Dragon Cape and Party Invitation

birthday dragon cape {chirpy threads}

We celebrated Ethan’s 4th birthday last weekend with a dragon themed party and it was so much fun!  He had been really into dragons for awhile and chose the theme a few months ago… and, much to my surprise, stuck with it without changing his mind.  And so… I had to make him a dragon cape!  Yup.  And guess what?  He loved it!  That always puts a smile on my face.

birthday dragon cape {chirpy threads}

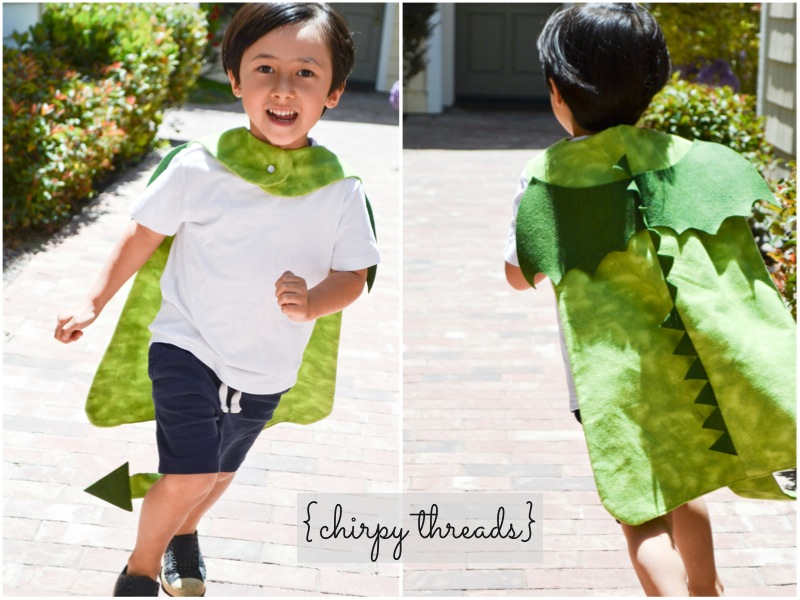
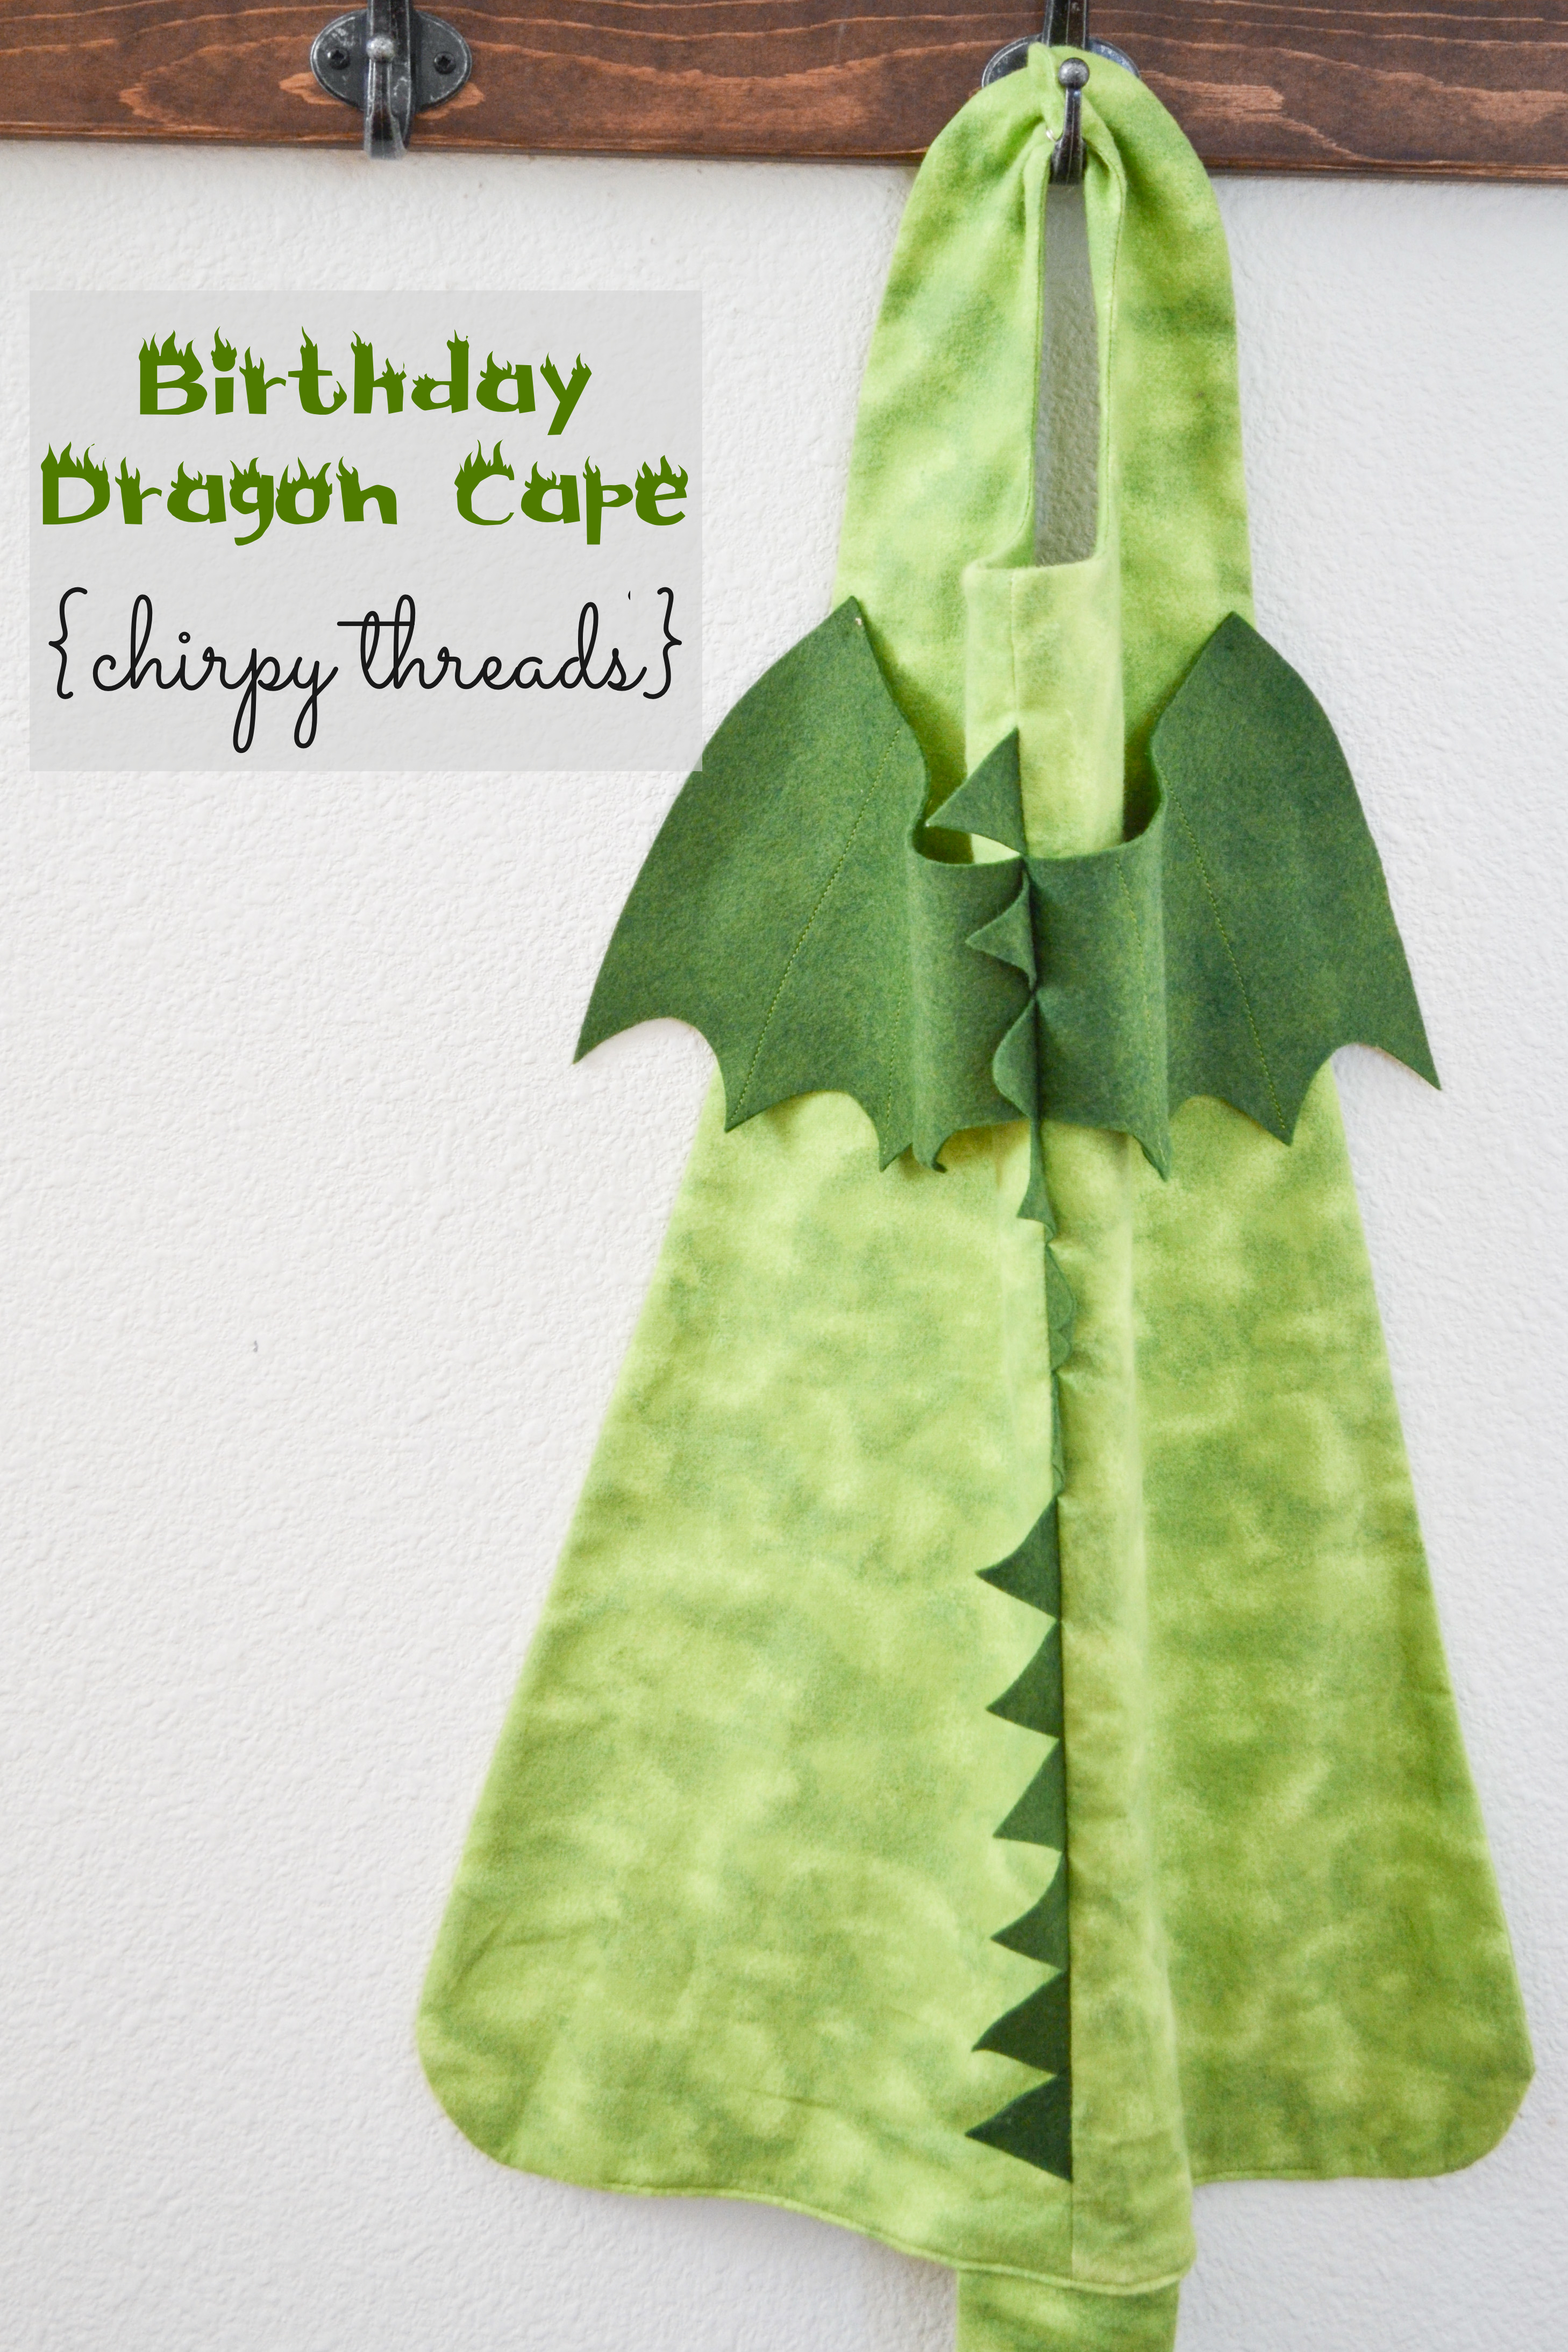
Once again, I used the superhero cape pattern by Georgia Leigh, in a size 4.  I cut the cape in half to add some little felt triangle spikes and wings that I loosely drafted by looking at an old dragon costume that Ethan wore two halloweens ago.  I also attached a tail to the bottom of the cape.  Both the green tie-dyed flannel fabric and forest green felt came from Joann.

birthday dragon cape {chirpy threads}

I had to hand stitch the wings to the cape at the top to keep it from flopping down.  I also sewed some vertical lines on the wings to make it appear more dragon-like.  Not sure if it worked though – people kept asking if he was a dinosaur!  Um, dinosaurs do not have wings!  Come on now, people!  Haha!

birthday dragon cape {chirpy threads}

birthday dragon cape {chirpy threads}

birthday dragon cape {chirpy threads}

DSC_0142 EditedCT

I love this pattern so much.  It’s so versatile – and, as you can see, it’s not just for superheroes!  I’ve used it many times (herehere, and here) and with different types of fabric!

Anyway, back to the party… this is the invitation that I created for Ethan’s birthday party!  I bought a set of dragon images from this Etsy shop.  The dragon, cake, presents, and stars are from this set which was customized for me.  I put together the invitation on PowerPoint and made the tower and flag banner using the shapes on the program.  The fiery font I used is called flames and can be found and downloaded here for free.

dragon birthday invitation {chirpy threads}

Details of the party to follow very soon!

xoxo, Jen

Birthday Banner

Can I tell you how much I love banners?  They make me so happy!  I would hang them everywhere if I could!

A good friend of mine asked me to make a fabric birthday banner for her little girl.  Of course I said yes!  I thought that making something girly would be fun since I don’t have a girl.  And it would also be good practice before I make another banner for Ethan’s birthday.  So here is how it turned out!  I actually loved it!  I love how all the colors blended together.  I took a risk using the aqua color for the lettering but I think it stood out well against the background fabrics.

I’ll briefly run through the steps I took to make the banner.  I created my own template for the scallop base.  You can find it here.  It measures approximately 6 inches long and 6 inches wide.

Materials you will need are:

  • scallop template
  • 3-inch tall letters in any font you like (I used Luckiest Guy; here is my template)
  • 5 or 6 different fabrics for the front of the scallop ( I will call this the main fabric)
  • muslin (natural color) for the back of the scallop
  • solid contrasting color fabric for letters
  • fusible medium weight interfacing (I used Pellon decor bond)
  • heat’n bond lite (for letter appliques)
  • one package of 1/2 inch wide double-folded bias tape (3 yards) or you can make your own
  • the essentials – sewing machine, scissors, thread, fabric marker

Iron on interfacing to the wrong side of the main fabric.  Trace scallop template onto the interfacing side and cut out.  Do the same with the muslin (except the muslin will not have interfacing).  You should end up with 14 colored scallops and 14 muslin scallops.  You will be working with the colors first so you can set aside the muslin pieces for later.

Iron on heat’n bond to back of solid colored fabric.  Trace letters onto the paper side of the fabric and cut out.  You can now peel off the backings to the letters and applique them onto the right side of the main fabric scallops.  You will be appliqueing through four layers – the solid colored fabric, the heat’n bond, the main fabric, and the interfacing.  There should be one scallop with no applique.  This is the “space” to separate the happy and birthday.

Next, pin the main fabric scallops and muslin scallops right sides together and sew along the outer edges.  I used a 1/4 inch seam.  Leave the top (straight edge) open.  Be sure to back stitch at the beginning and end to secure the stitches.  Cut out notches or little triangles along the curves.  Flip right side out.

It should look like a pocket now.  Iron the seams.  Do this for all 14 scallops.  Next comes the fun part.  Time to sew all the pretty scallops together.  Pin scallops.

Take your bias tape and fold in a 1/4 inch at the beginning to hide the raw edges.  Pin your first scallop (the “H”) about one foot from the beginning of the bias tape.  Tuck the top of the scallop inside the bias folds.  Sew from the beginning of the bias tape (to close the tape) to the end of the first scallop.  Take your next scallop (the “A”), tuck into bias folds, and sew across the tape.  Keep doing this for all the letters.  Remember to include the blank “space” scallop in between the happy and the birthday.

Leave another foot of bias tape after all the scallops have been sewn on for tying.  Remember to tuck in the raw edges at the end for closing.

And there you have it!  A scalloped happy birthday banner!

xoxo, Jen