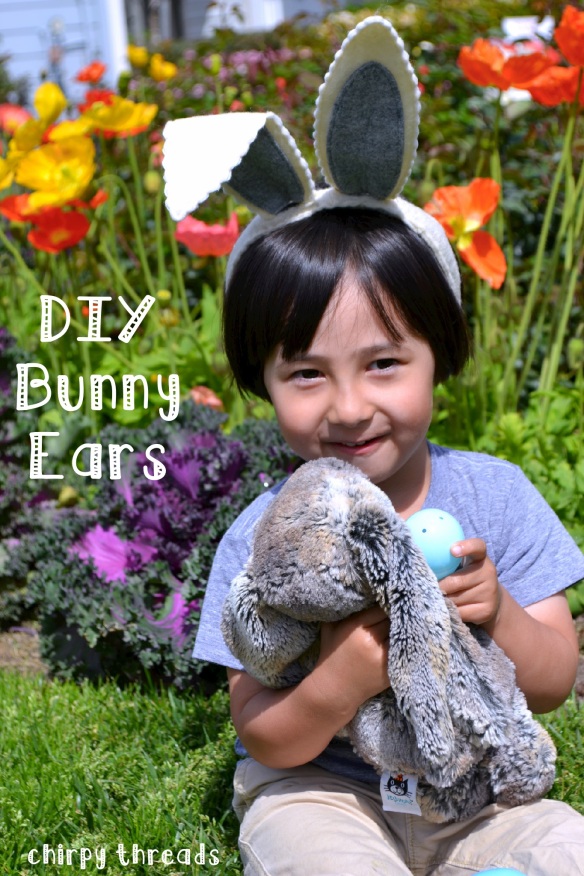
There are so many cute DIY bunny ears out there, like this one (Kate’s Creative Space) and this one (Finley & Oliver) – two of my favorite blogs! But, of course, I needed to make things more complicated for myself because I just love the extra work! Ha, so kidding. I had a vision in my mind and needed to see it through! So, in case you’re interested in how I put mine together, here it is!
Materials:
- headband that will fit your child
- bunny ears template
- cream colored felt for outer part of ear (or any color of choice)
- gray colored felt for inner part of ear (or any color of choice)
- two pipe-cleaners
- heat n’ bond lite
- fusible interfacing
- essentials: sewing machine, thread, needle, scissors
Ok, let’s get started!
1. Print out the bunny ears template on card stock. I got the template from Martha Stewart. Her version is super cute and EASY too. I enlarged my ears a tad bit because I was making it for an almost-three-year-old. The outer ear part was about 7″ long and 2.5″ wide; the inner ear part was about 5.5″ long and 2″ wide.
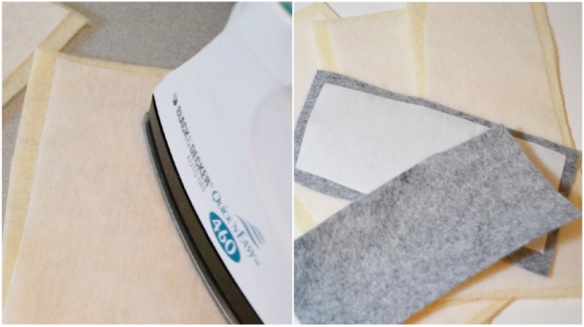
2. Cut your cream felt into four strips of about 8″ x”4″ and iron strips of interfacing onto it. Cut the gray felt into two strips that are slightly smaller and iron the heat n’ bond adhesive onto it.
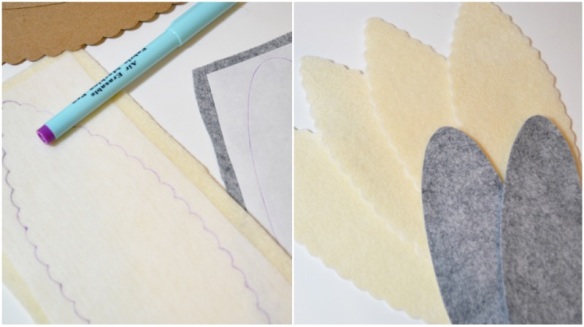
3. Grab your templates and trace the outer ear onto the cream pieces and the inner ear onto the gray ones.
4. Cut your ears out. You should have four cream pieces and two gray ones.
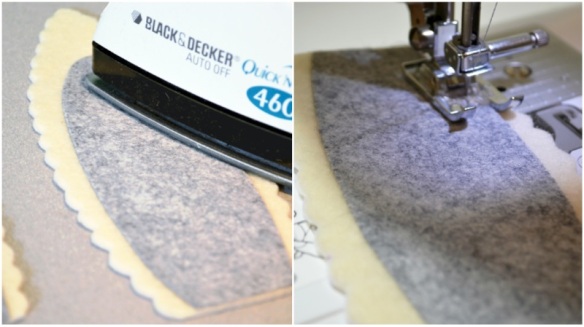
5. Iron on the gray inner ear pieces onto the cream ones. The remaining two cream pieces will be the back of the ear.
6. This part is optional. Sew along the edge of the gray ear to secure onto the cream felt. The adhesive should hold the piece in place just fine without any sewing, but I wanted it to be extra secure in case it gets tossed around by my destructive little boy.
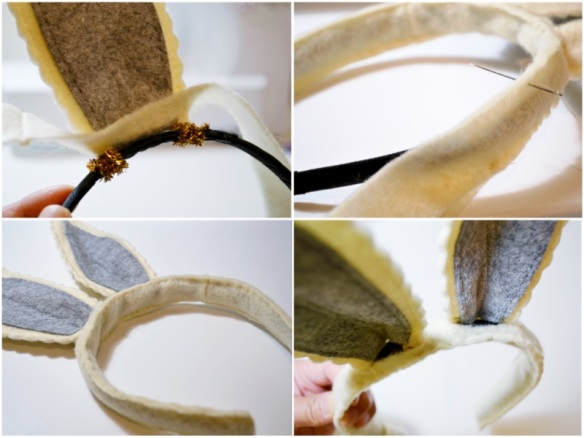
7. Next, sew the back piece of the ear to the front along the sides only and leaving the bottom open. Take two pipe cleaners and twist the ends to join them to make one long one. Bend at the middle to form a pointy top and insert into the ear via the bottom opening. Now you can sew the bottom closed.
8. Grab your headband. I got mine at the dollar store. If it has any embellishments on it like mine did, make sure you cut or pull them off so that you have a clean headband to work with. Wrap the pipe cleaners around the top of the headband to secure the ears.
9. Cut 1 inch wide strips of felt long enough to cover the length of your headband. You should have two pieces to sandwich your headband in the middle. Now cut two slits on the top of one of your strips. Make the slits wide enough (but not too wide) to slip the ears through. Slip the ears through.
10. Hand stitch the strips together with the headband sandwiched in the middle. And you’re done!
I’ve now succeeded in making the world’s most complicated felt bunny ears! I’m certain there is a much easier way… and I’ll probably figure it out a couple years later!
Happy spring and have a great Easter weekend!
xoxo, Jen


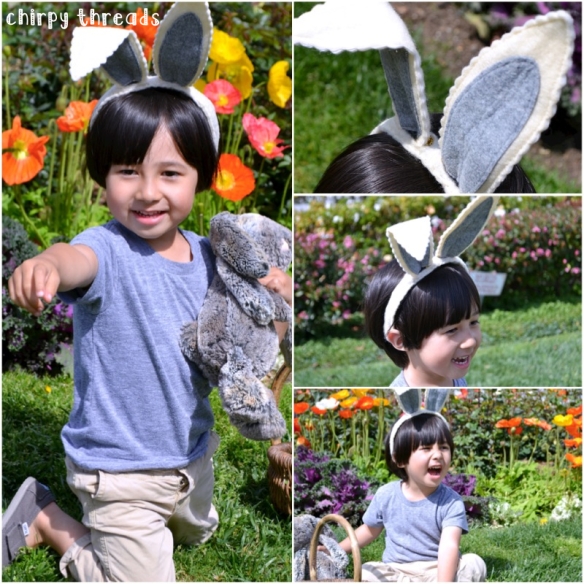
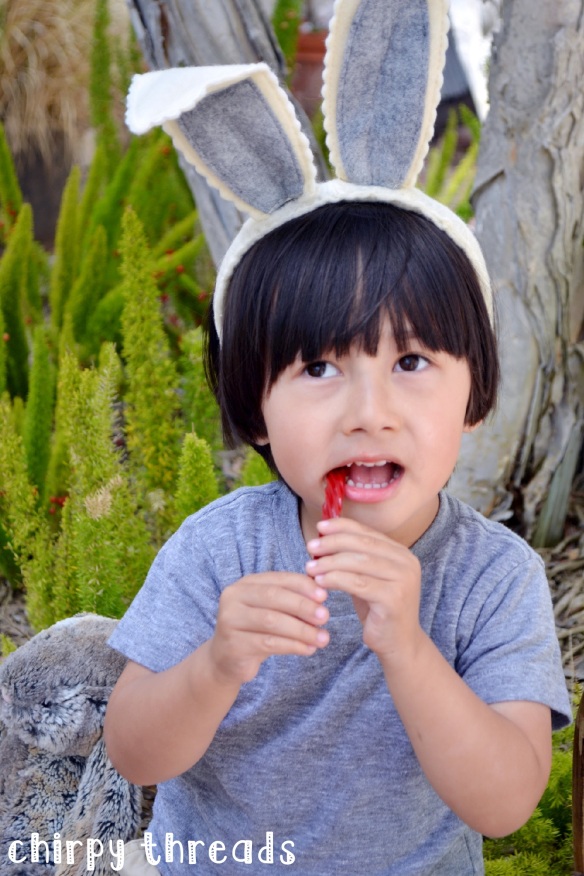
Ahhhh, so cute!
Thanks, Caroline!