We had another birthday party for Ethan and his friends this past weekend. It was a joint party for six kids who were all turning two in the months of May or June. Since we know so many kids who are all the same age, it was appropriate to throw one big bash for everyone together. Each kid would receive one birthday gift from one friend rather than five. Doesn’t that make so much sense? Otherwise, we’d we broke buying gifts for everyone each week!
We agreed to list the kids’ names in alphabetical order; the first on the list would buy for the second, the second would buy for the third, etc. It all worked out perfectly.
Since I had so much felt in my fabric stash, I decided to make a gift bag out of it. I know every kid loves to rip open paper from presents but I really wanted to make a bag that was eco-friendly and reusable! It was super easy too.
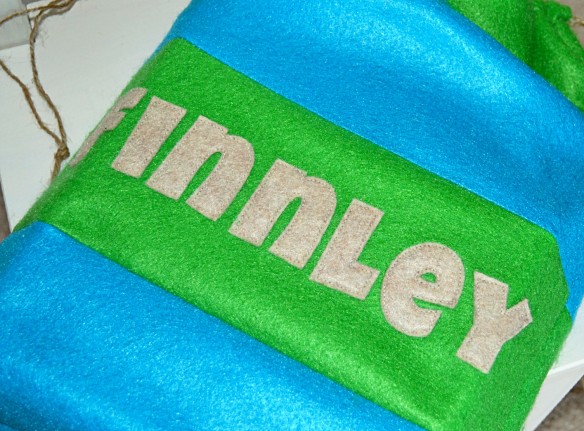
I chose the colors blue and green for a boy. I made the bag striped because I just love stripes but you can make it one solid color too. I also chose to personalize it with the birthday boy’s name.
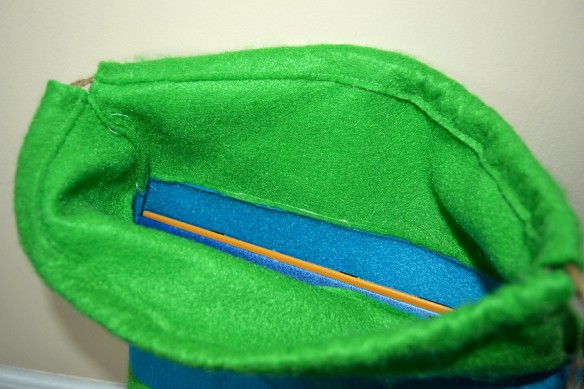
I didn’t take a whole lot of pictures because I made it last minute but I’ll quickly give a brief tutorial. I didn’t take down the exact measurement of the bag but I think it was about 11.5″ x 17.5″. Although a little snug (as you can see from the photo above), it was large enough to fit a hardcover book and boxed toy. I would have made it bigger if I wasn’t in such a rush! This is really just one big pouch. 🙂
Materials:
- four felt craft sheets (approximately 9″ x 12″ – found at any craft store)
- heat’n bond lite (for letter appliques)
- string for the drawstring
- the essentials – sewing machine, scissors, thread
Cut your felt sheets in half horizontally (so you should have strips that are approximately 4.5″ x 12″). You should have a total of eight strips now (four of each color). Then take two of the strips (different colors) and put one on top of the other. Sew one of the long edges together. I used a 1/4″ seam allowance.
Keep doing this so you end up with a block of four strips. This will be the front side of the bag. Do the same for the the back side.
If you’d like to personalize it like I did, the next step is to applique your letters. I had fused heat n’bond to an oatmeal colored felt sheet, then cut out my letters from the two layers. Iron on the letters to the front side of your bag and sew them on.
Now you are ready to sew the bag together. Fold down the top of both front and back pieces of the bag about 3/4 inches and sew. This will create a pocket to hold your drawstring. Next, place front and back pieces right sides together and sew along the sides and bottom edges closed. For the sides, you will sew up to where the drawstring pocket starts, maybe leaving a 1/4 inch space in between. Remember to backstitch at the beginning and end.
Finally, insert your string — attach a safety pin to one end of the string and insert it through a hole on one side. Once you’ve reached the other side, insert it back in to the closest hole on the other side (sort of like doing a U-turn). Leave at least 5 inches of string on each side, then cut and tie together. Then, do the same for the other side. Insert another piece of string into the opposite side you started at.
And there — you should have one huge drawstring pouch! Now go fill it up with whatever your heart desires!
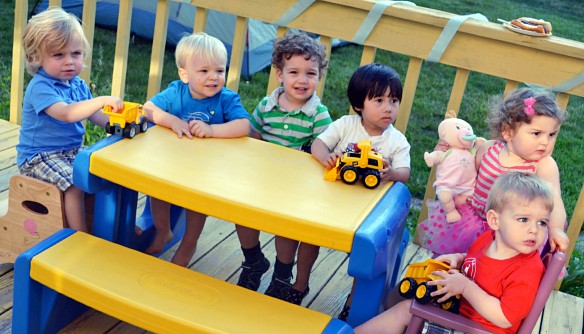
And now I leave you with a photo of the adorable 2-year-olds and some yummy goodness from the party!
xoxo, Jen


These bags are brilliant and those banners are the nicest I’ve ever seen. Would you might if I featured you on my website? Ecofeltcrafts.com
Let me know what you think. Have a great weekend! 🙂
Britt
Thanks so much, Britt! That’s so sweet. You’ve just made my day! I’d love to be featured on your site. I’ll e-mail you separately so we can chat more!
Jen